I've seen a few different kinds of DIY fire starters ideas floating around. I wanted to try a couple out and see which performed better. I'm also doing this with my 8 year old son to each him about the elements that make a good fire starter. I chose to do a wax & cotton version and a wax & saw dust version. I'm evaluating these based on a few factors:
1: Ease of creation (with kids)
2: Ease of lighting with a ferro rod.
3: How long do the burn.
4: Simplicity of ingredients
I'll include a step by step of how to make each below, but first... How do they stack up!?
After trying both of these I like them both for different reasons. The wax & cotton fire starters are super easy to make. They are compact, water resistant and easy to light with a ferro rod. Either of these fire starters would be super easy to light with matches or a lighters.
The advantage of the wax & saw dust fire starters is the burn time. They burn a very long time. Living in the Pacific Northwest one of the major concerns for getting a fire started is working with damp wood. Having a full 13 minutes of burn time to work with gives you a much stronger chance of burning some of the moisture out of damp wood and getting a good blaze going.
Now for the How To:
WAX & COTTON FIRE STARTERS
Using a double boiler melt wax or paraffin in an empty tin can. I opted for the tin can option because I didn't feel like getting murdered by my wife for ruining another pan :) It makes clean up easy... just toss the can into the recycling bin. I used 6 votive candles to make 22 fire starts.
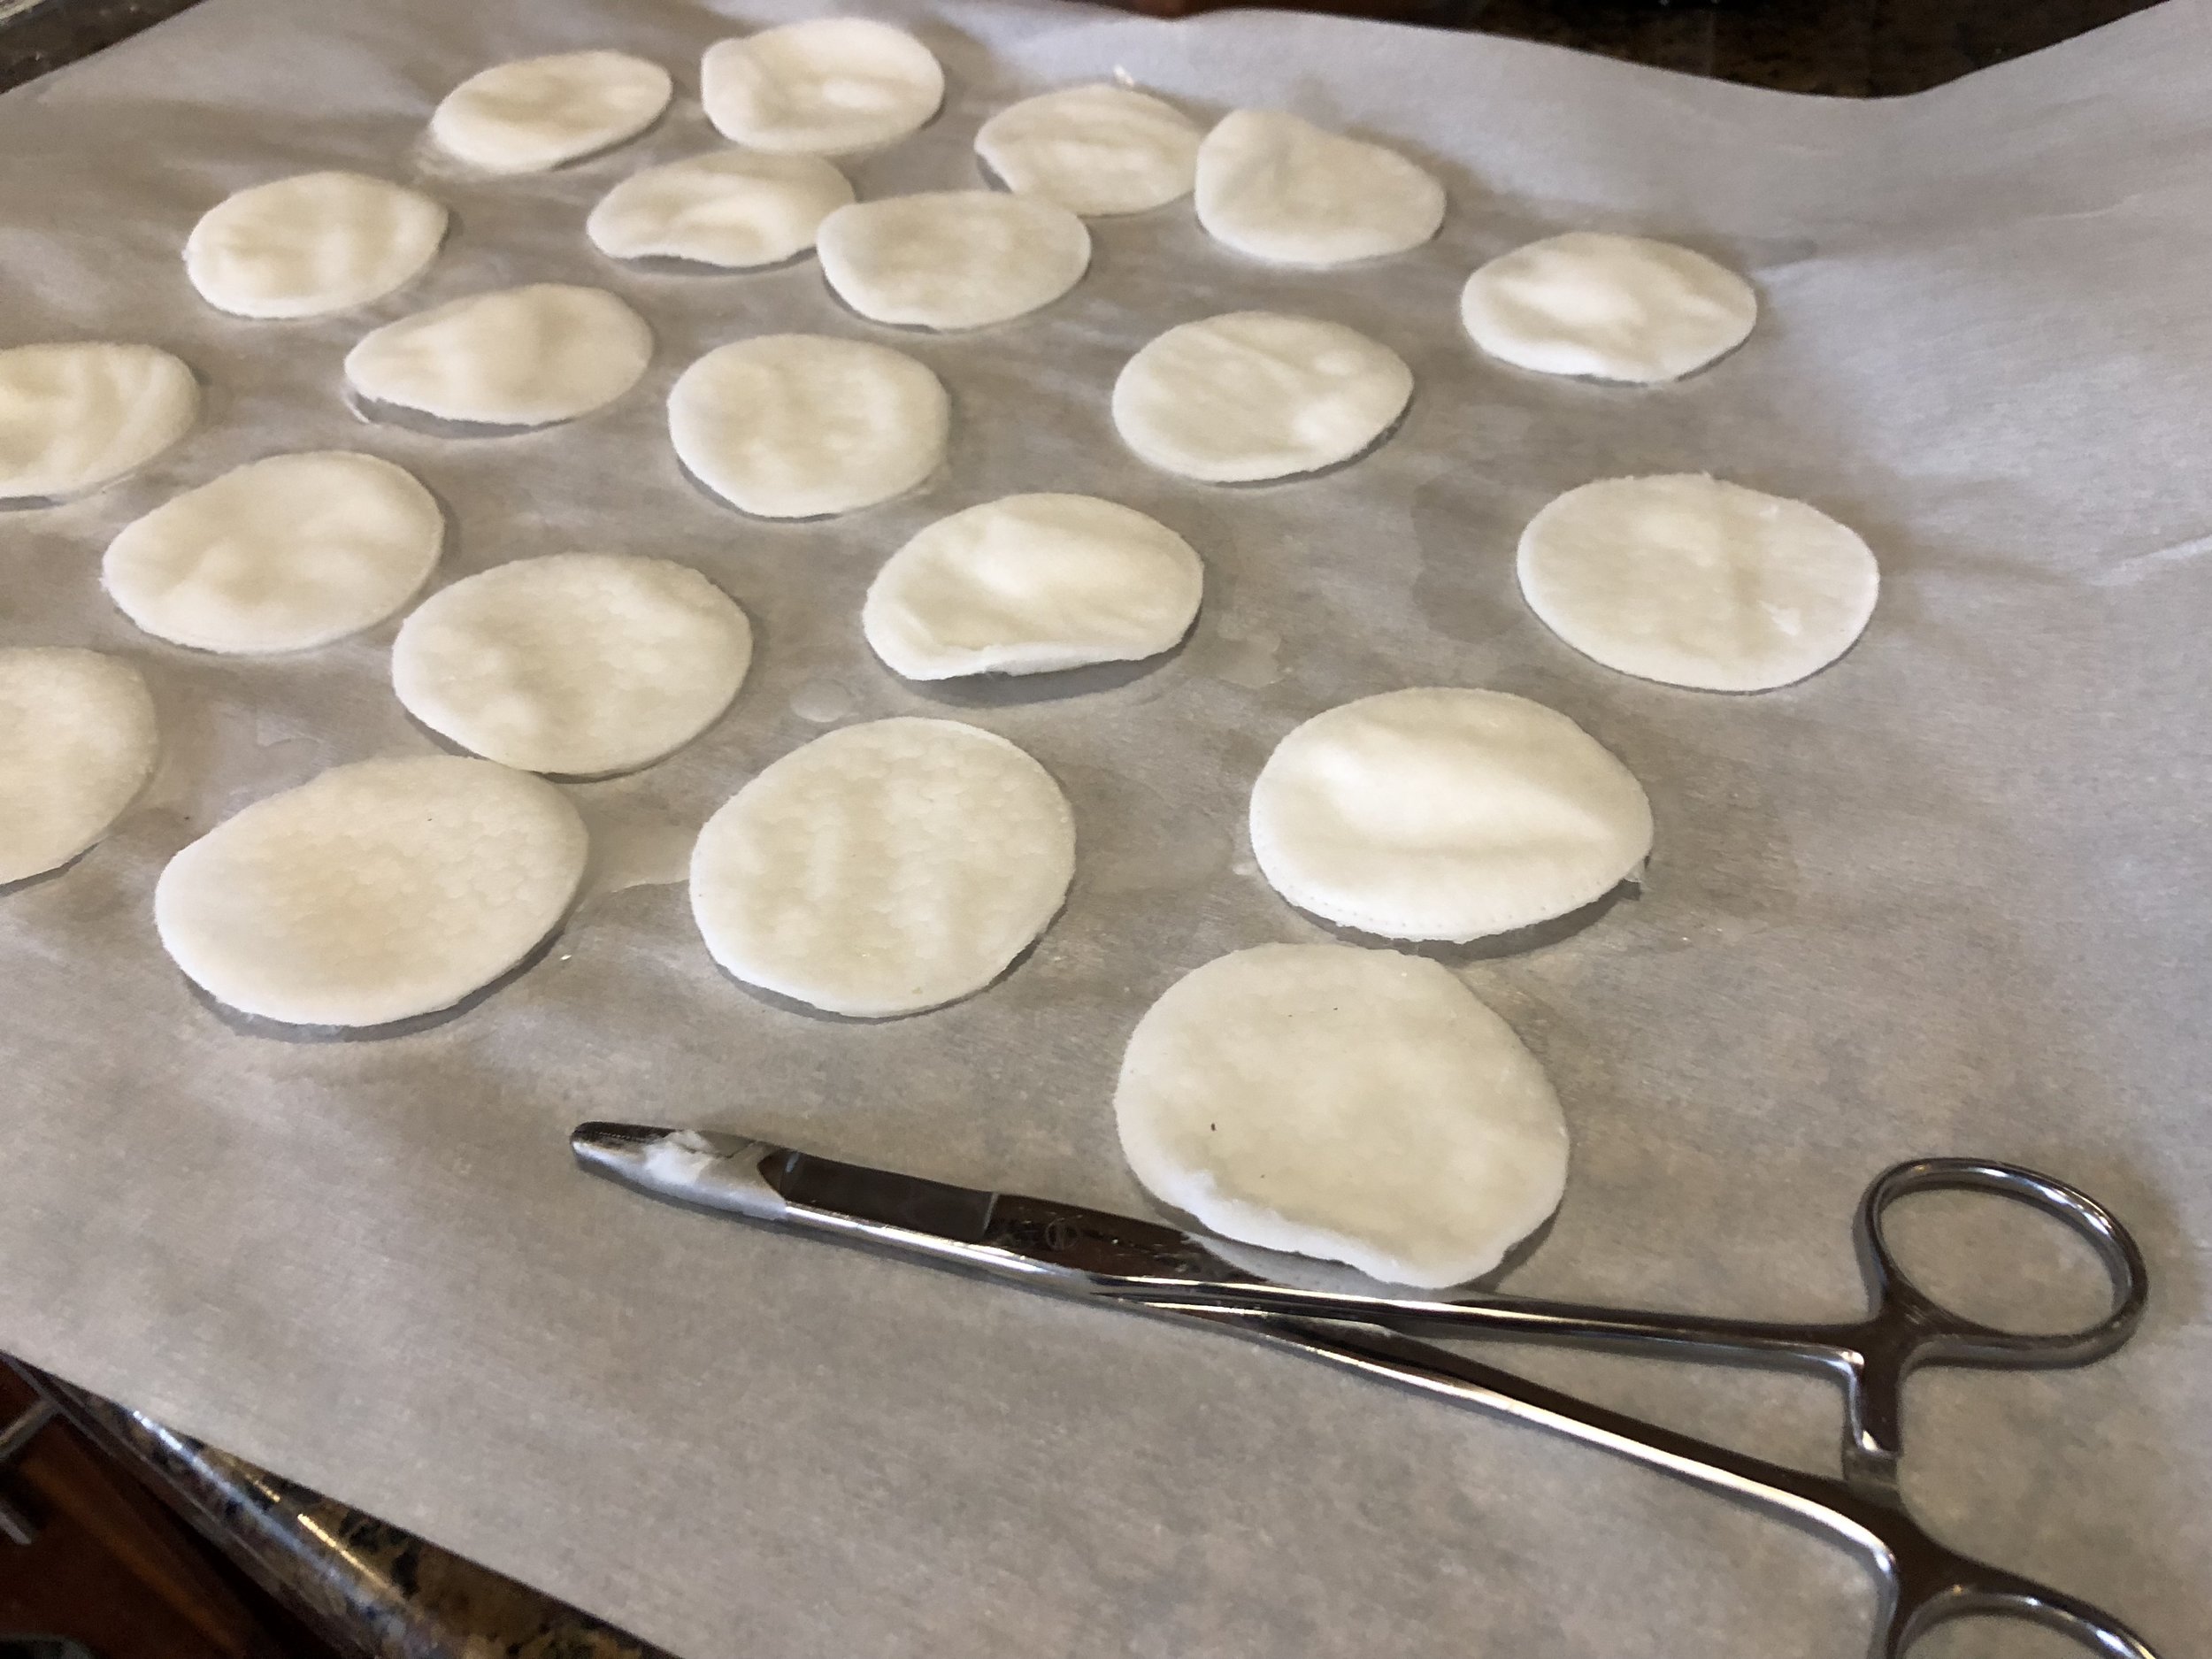
Cover a cookie sheet with a layer of parchment paper. Once the wax is melted dip 100% cotton rounds into the wax briefly. Let the excess wax drip off back into the can before placing them on the parchment paper to cool. I recommend holding the can over the parchment paper to avoid creating a trail of dripped wax.
That's really about it! Once they cool they're ready to put into your fire starting kit for your next outing. When you use them, you can tear them in half to stretch them farther if you need to. Rough up the cotton fibers as fluffy as you can get them if you're using a ferro rod to start these.
WAX & SAW DUST FIRE STARTERS
Find a couple empty paper towel tubes or toilet paper tubes. Mark 1" increments along the tube. Cut along those lines to create 1" cardboard discs. These serve as molds for the saw dust.
Fill the molds with dry saw dust on parchment or wax paper. Pack it in as well as you can. Next melt the wax in a doubler boiler as described in the wax & cotton directions. Carefully pour the wax over the saw dust. Remember that sometimes when you pour liquids slowly then can drip down the front of the can and off the bottom. Just make sure that you have both potential drip points over the parchment paper before you start pouring.
Let them cool down and then peel the cardboard tube off and they're ready to go! I used a little bit of shaved magnesium with the ferro rod to get these going. Again, with a match or a lighter these things would light up like a Christmas tree.
This image does a good job of showing the difference in flame between these two. The wax & cotton burned really well, but the wax & saw dust burned really high and long. If you feel up to taking the extra steps and mess, the saw dust is pretty great! I feel like the combination of the two is pretty solid as well. If you put even a quarter of the cotton fire starter on top for a quick easy light and a big chunk of the saw dust and wax on the bottom you'd be set.
Let me know if you have a favorite DIY fire starter!


