I have always loved the art of fire building. It was probably the first true outdoor skill that I felt extremely passionate about. It can be extremely challenging, depending on the circumstances. I spent a lot of time learning about different ways that work in various conditions. As a youth of about 12 years old I learned the skill of traditional flint and steel. It quickly became my preferred method. As part of that I learned about char cloth, which was a game changer for me.
Char cloth is simply a piece of cloth that has been partially burned in a low oxygen environment. Like traditional wood charcoal. It turns into a spark catching spider web. Any spark that hits it sticks and slowly grows until the entire piece of char cloth is burned. Depending on the size of the cloth that can last up to a couple minutes. That gives you a way longer window to get a flame going! I love traditional flint and steel, but the modern ferro rod certainly has it's advantages. If you've ever used a ferro rod and found yourself frustrated at not being able to get a spark to catch on anything, try char cloth... You will only need one solid strike and you'll capture multiple sparks. Transfer the cloth to your tinder bundle and make sure the glowing ember is touching the dry tinder. I usually fold the bundle around the ember. You've got to find a good balance between not enough contact and smothering the ember. Then gently blow on the ember until it catches and the bundle catches fire.
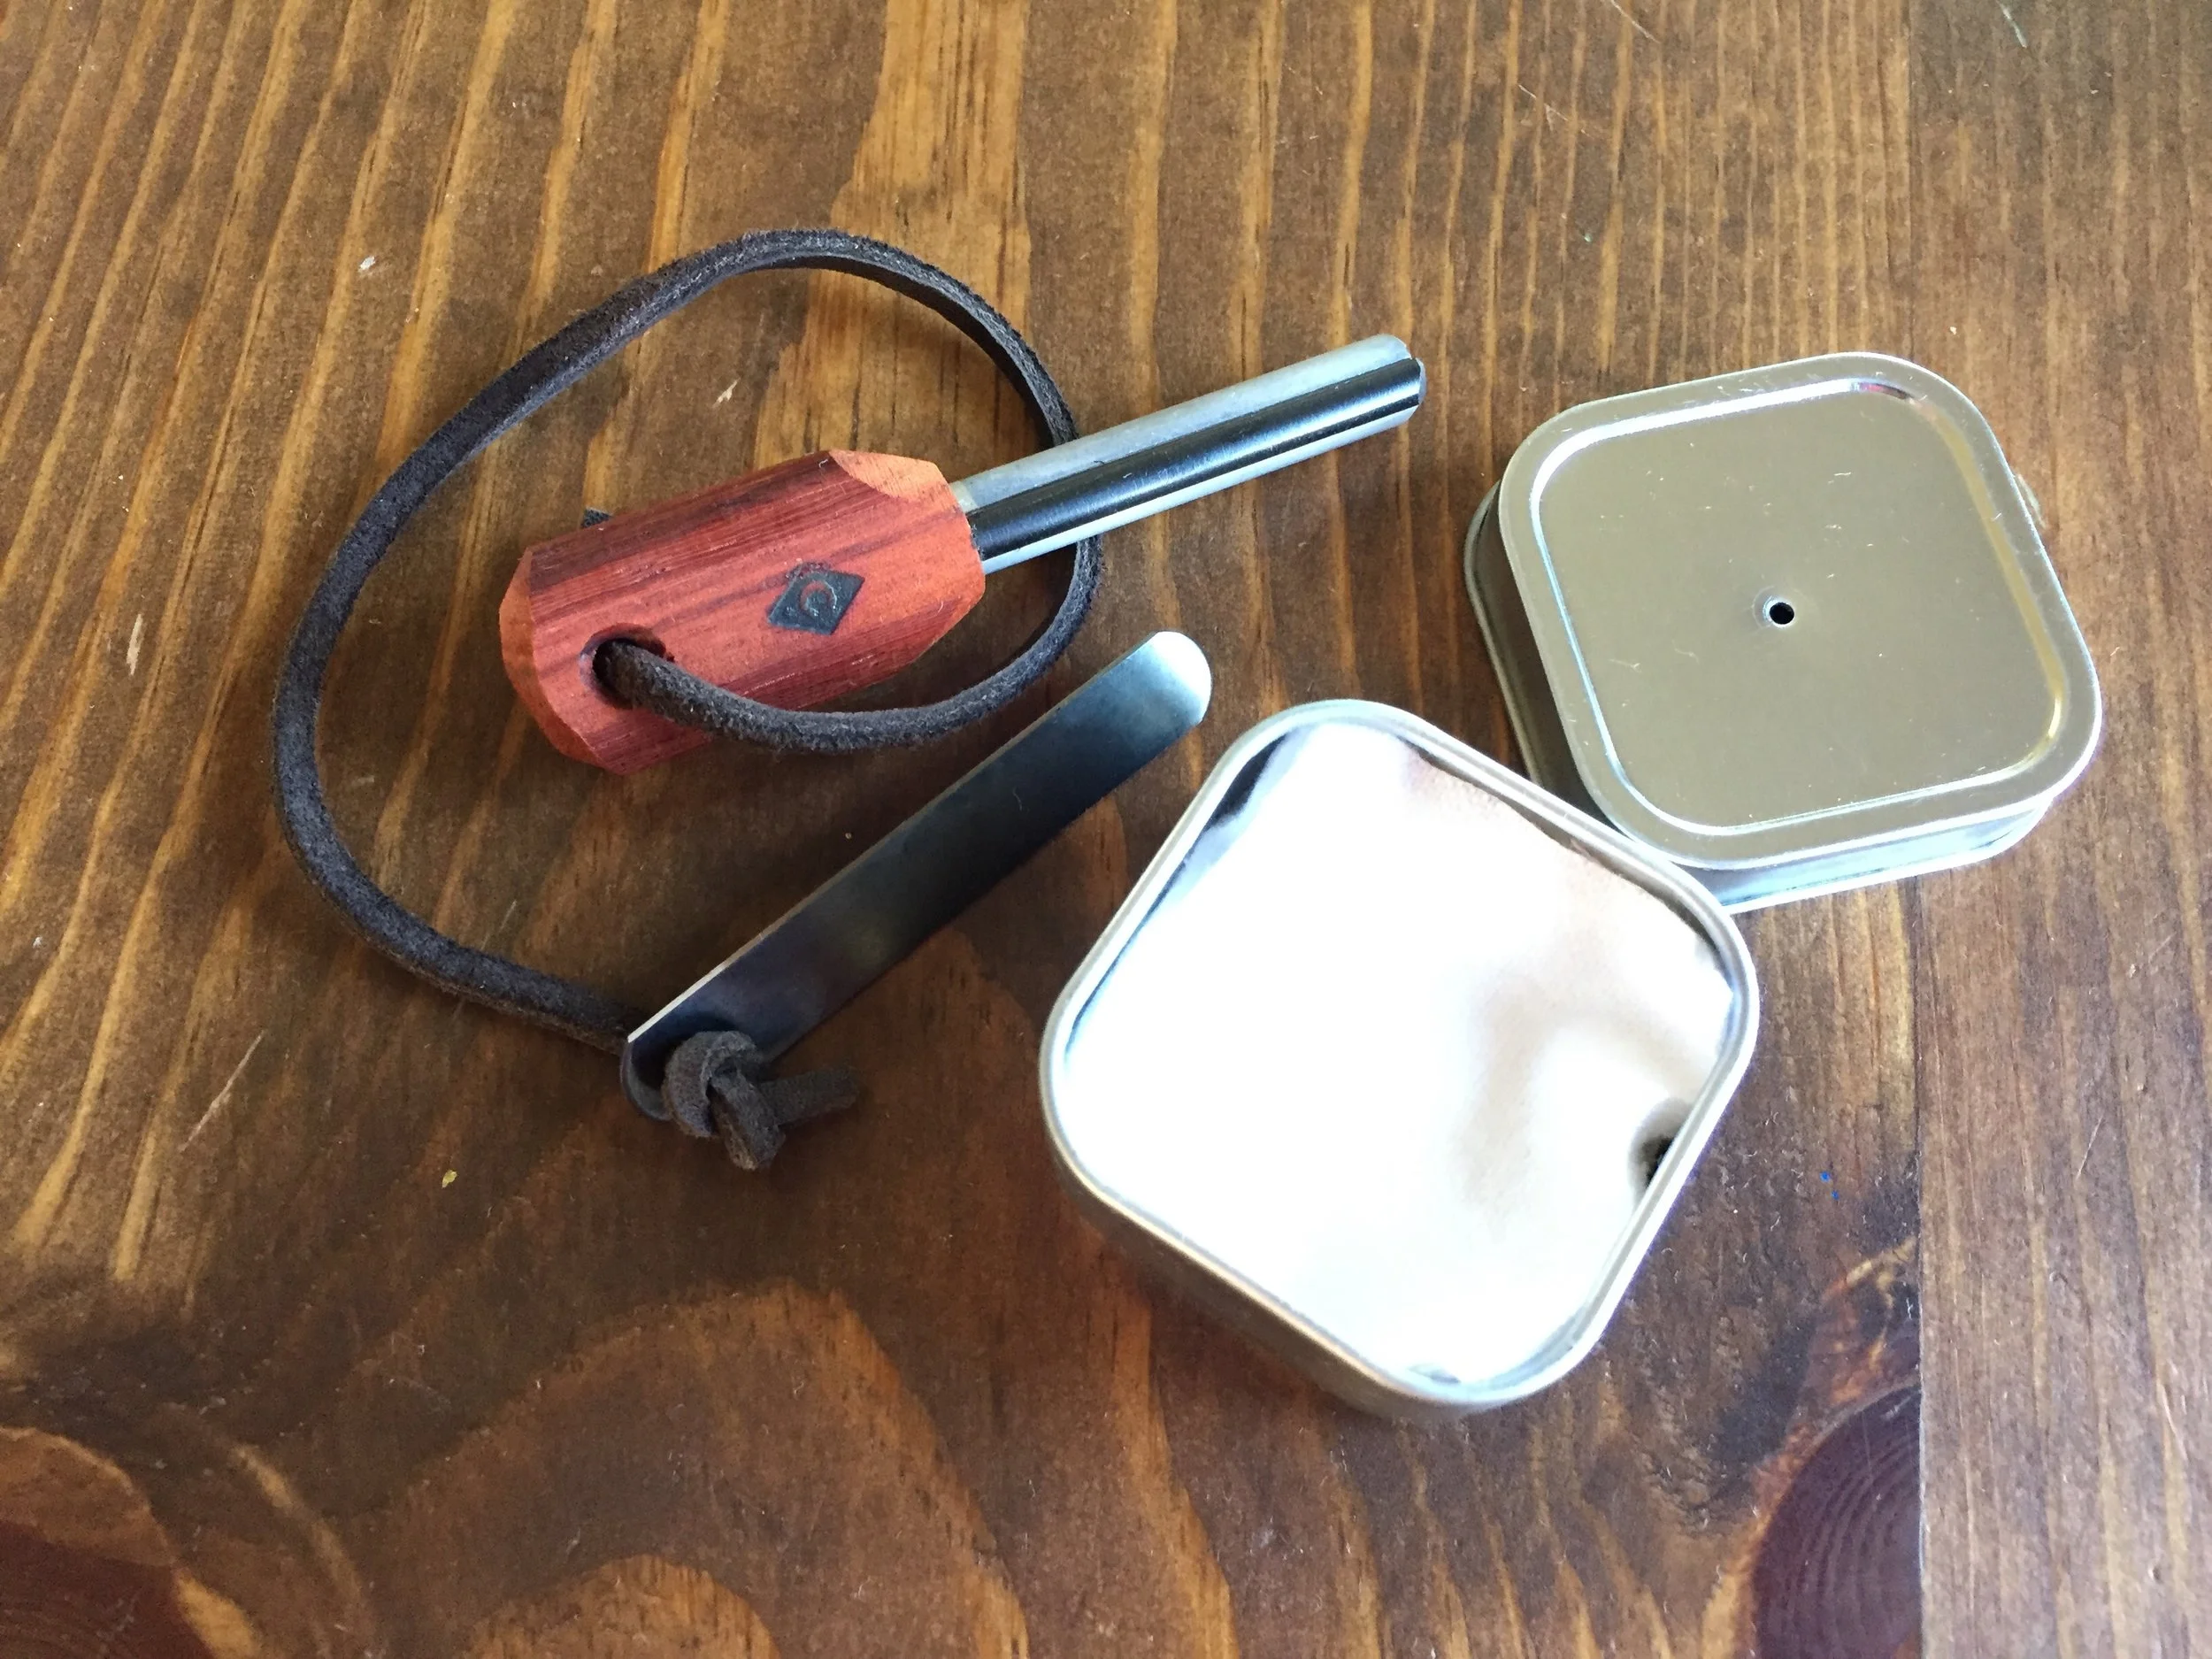
As a long time passion of mine, I have had a tin for making char cloth for years. Several different ones, to be honest. Most ended up being bigger than they needed to be. So I set about the create the perfect char cloth kit. It's a small tin so it won't take up very much space, or weight. It is the perfect carrying case and you can use it to make more when you run out. The kit comes with 15 100% cotton flannel squares, ready to be charred. Just place the tin in the fire (or barbecue) for 3 and a half minutes and its ready. You don't have to use the specific ferro rod that comes with this kit. You can use traditional flint and steel, or and old lighter that's run out of fuel. Anything that produces a spark will work.
But the ferro rod with this kit has a few extra bonuses that make it a fire starting powerhouse. The ferro rod itself is backed with a magnesium rod. Magnesium shavings burn at a temperature 7 times higher than a lit match. It can ignite even stubborn damp tinder. Also the handle is made from a resin rich wood that can be shaved off to make excellent tinder if you can't find anything suitable in the wild. Not to mention that the ferro rod can get wet and still work just fine. Try that with matches (actually don't...)
This kit is a perfect addition to any survival kit, bug out bag, camping kit, or any day hike pack list. Head over to our shop and pick one up for your next adventure!

